Advanced Integrations let any script or tool that can open a link light up a badge by your cursor when it finishes. Once you’ve created an integration in Proximate, you get a set of hook commands you can drop into shell scripts, config files, Makefiles, CI pipelines, or anywhere else your tools live. This page walks you through creating the integration and explains everything you need to know before wiring it up.

Creating the Integration

1

Open Proximate Settings

Click the Proximate icon in the menu bar, dock, or system tray, then click Settings…
2

Open the Advanced Integrations tab

In the left sidebar, click Notifications (the bell icon). At the top of the Notifications panel, click the Advanced Integrations tab on the right side of the tab bar, then click Add Integration.Settings → Notifications → Advanced Integrations tab with Add Integration button
3

Name your integration and choose an icon

Give your integration a Display name and pick the icon you want to see appear by your cursor when this integration fires a notification. The display name only appears inside Proximate’s settings — it’s how you’ll identify this integration later if you have several.Add Integration form showing Name field, Icon picker, and Create buttonYou have three icon options:
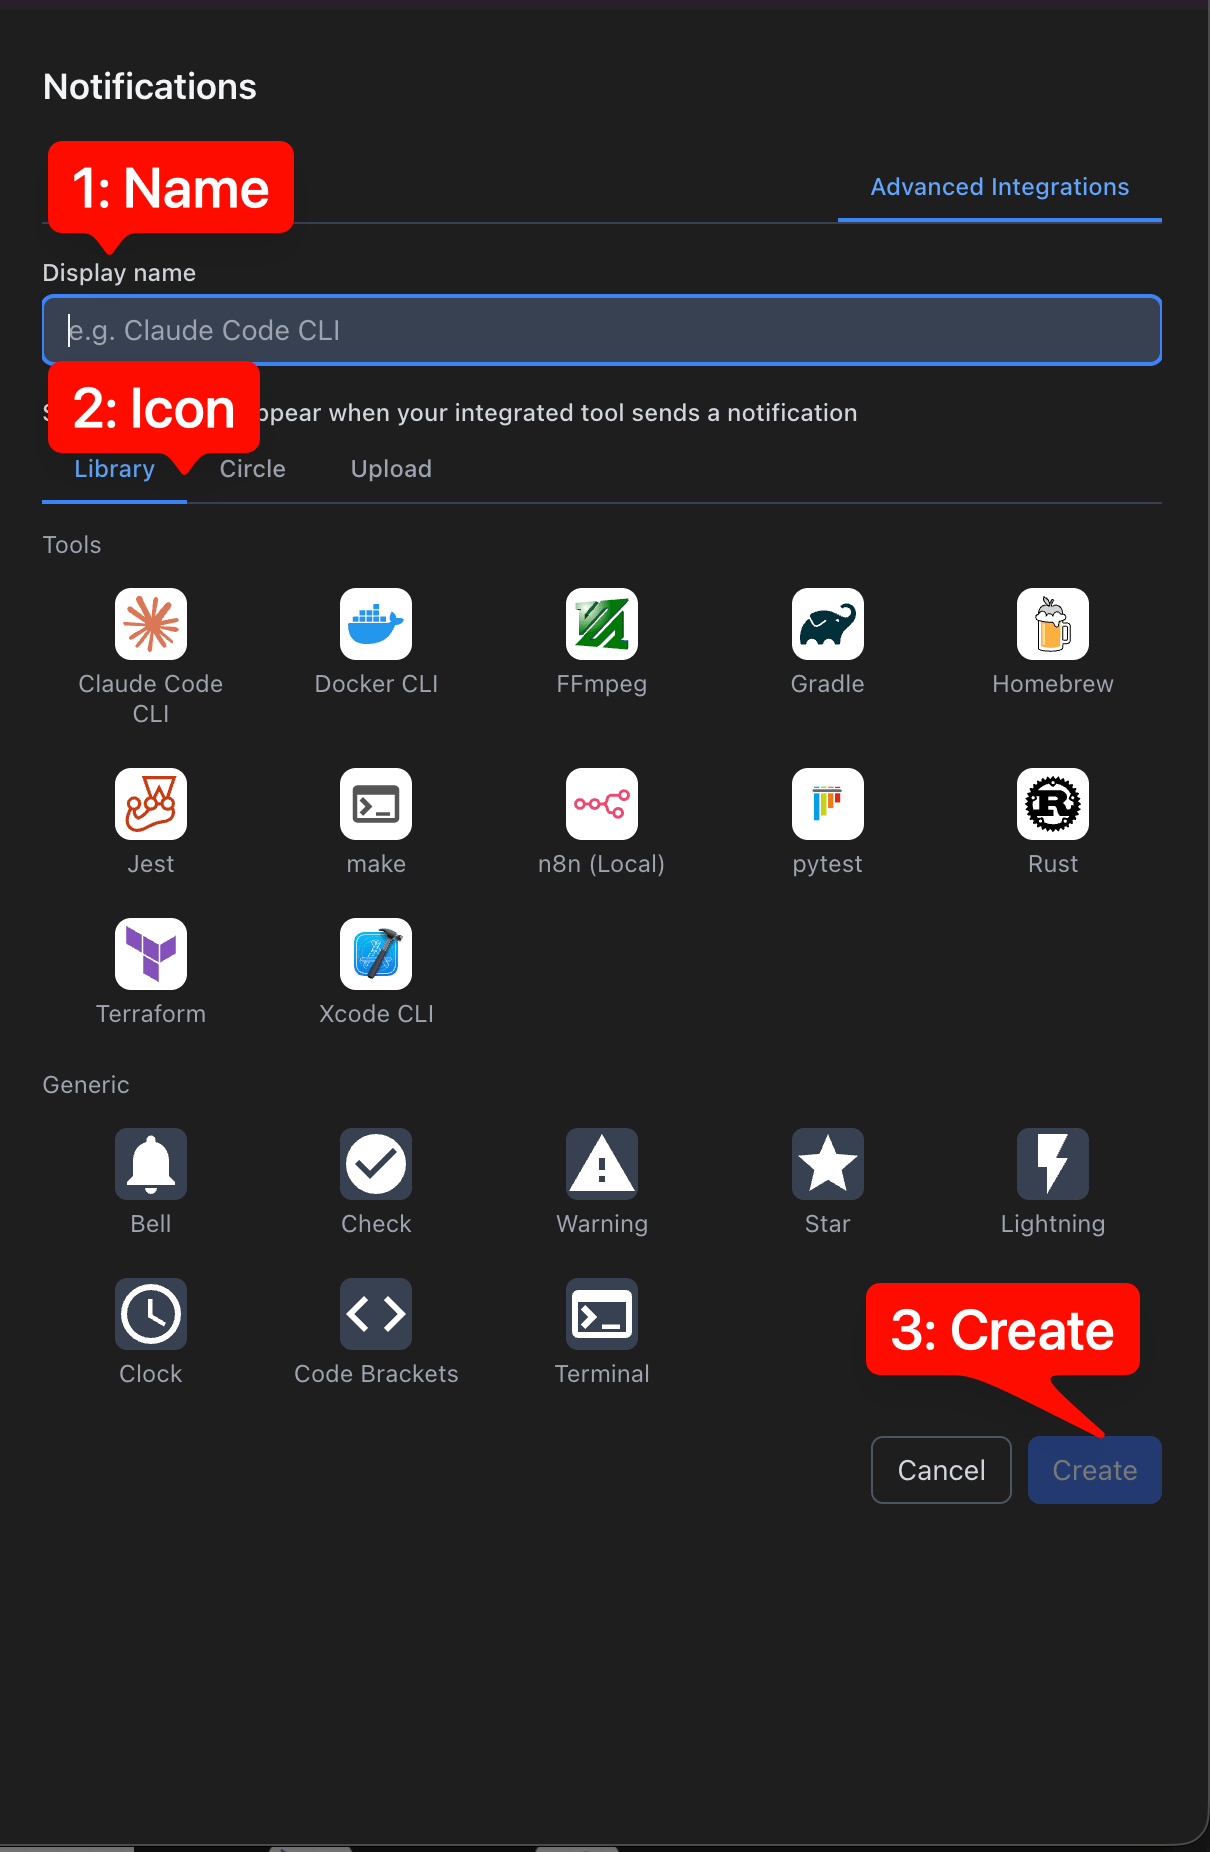
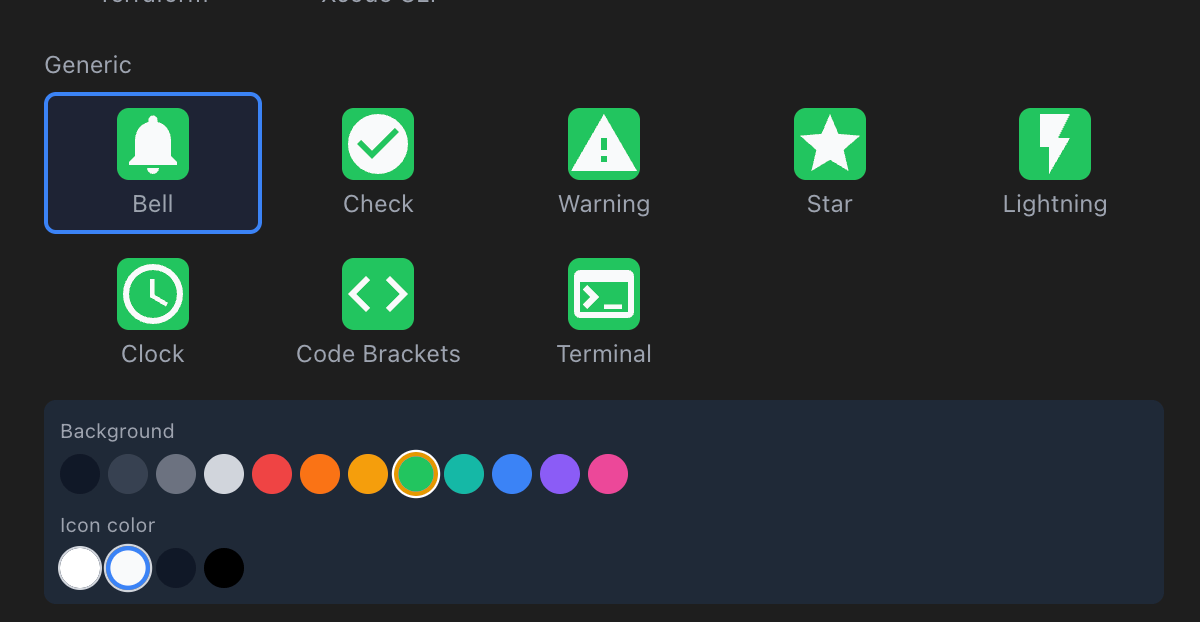
  • Library tab — a grid of icons for common tools (Claude Code, Docker, FFmpeg, pytest, and more), plus a set of general-purpose icons at the bottom. Click any icon to customize its background and icon colors.\ Library tab with a selected icon and color customization
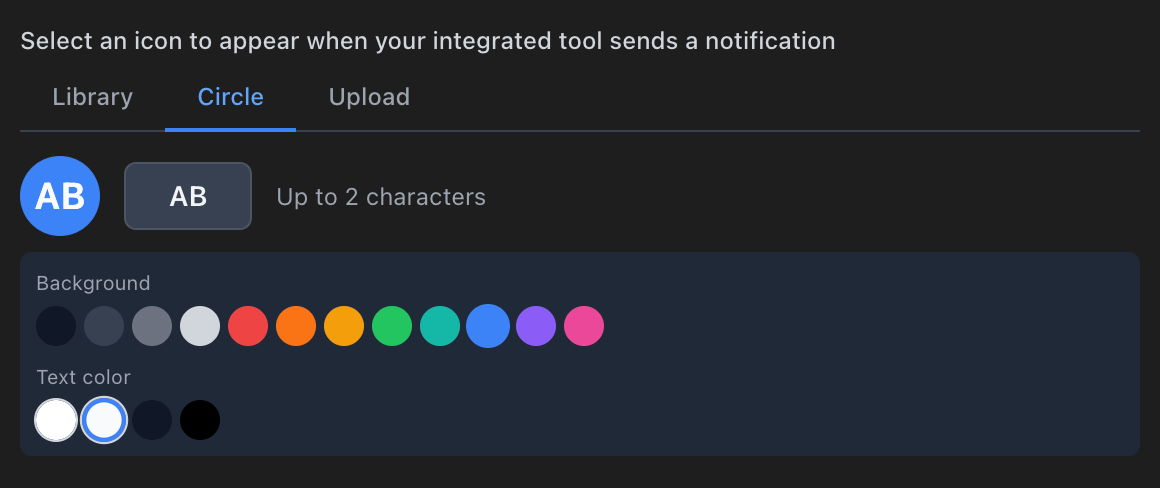
  • Circle — a circle displaying up to 2 alphanumeric characters of your choice, with customizable background and text colors.\ Circle tab with initials picker and color customization
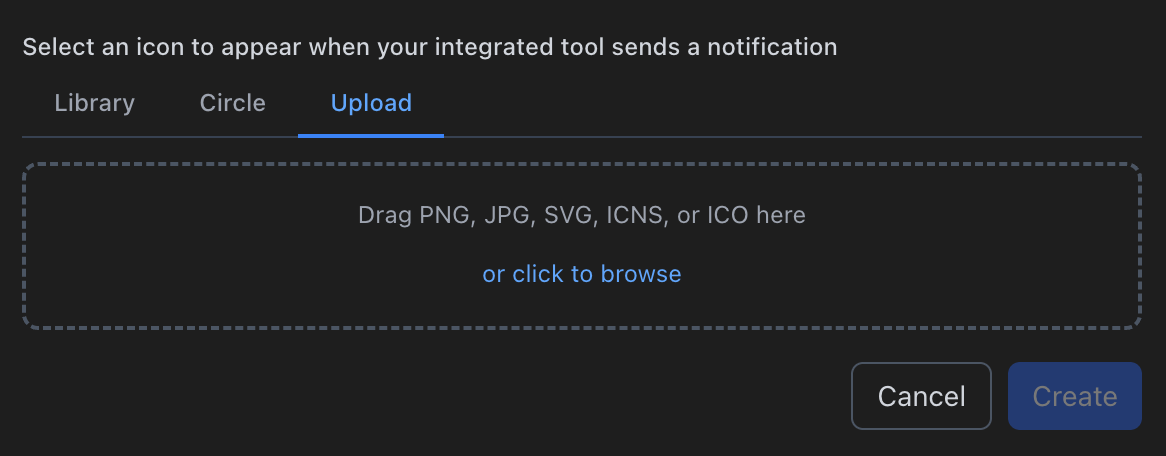
  • Upload — upload your own image in PNG, JPG, SVG, ICNS, or ICO format. Upload tab with drop zone for custom icon files
4

Click Create

Click the Create button to save your integration. The button stays disabled until you’ve entered a name and chosen an icon, so make sure both are set before clicking.
Your new integration immediately appears on the Advanced Integrations tab. You’ll see four hook commands — one for each hook type — ready to copy and paste into your tools.

The Four Hook Types

Each hook command, when triggered by your tool, displays the icon you selected right next to your mouse pointer. The icon behaves exactly like other app icon notifications in Proximate — it appears, you notice it, you move your cursor away, and it fades. Standard, Success, Warning, and Error badge states by the cursor For a breakdown of when to use each hook type, see The Four Hook Types on the Overview page. You don’t have to use all four — if you only want to be notified about failures, wire up just the Error hook and leave the others unused.

Keeping Your Hook ID Private

Each hook command contains a unique private ID that Proximate uses to identify your integration. You should treat this ID the same way you’d treat an API key or password.
Don’t commit hook commands to a public repository or paste them anywhere publicly accessible. Proximate intentionally truncates hook commands on screen so the IDs aren’t visible at a glance — the full command is only placed on your clipboard when you click it or the Copy button.
A few things that limit the risk if an ID is ever exposed:
  • A hook command can only show a badge by your cursor. It cannot read your data, access your files, or execute code on your machine.
  • Proximate ignores signals from any ID it doesn’t recognize, so a stranger can’t invent an ID and trigger your notifications.
  • Each integration is rate-limited to 10 signals per minute, so a leaked ID can’t be used to flood your screen.
If an ID is exposed, open the integration in Proximate and click Rotate key. Your hook commands will be regenerated with new IDs immediately, and the old IDs will stop working. You’ll need to update any scripts or config files that referenced the old commands.

Next Steps

Once you have your hook commands, drop them into your tools. For ready-made, copy-paste recipes for popular tools — Docker, FFmpeg, pytest, n8n, Rust, and more — see the recipe pages for macOS or Windows. For a complete end-to-end example, see the Claude Code CLI guide. For questions or feedback, open a support ticket or contact support@getproximate.app.